Project House lamp
By Barnet Handyman
An old lamp converted to a house lamp
I had an old lamp sitting in the corner of my daughters section of the front room. It was a pain and in the way, so my creative head kicked in and I decided to do something with it... here it is.
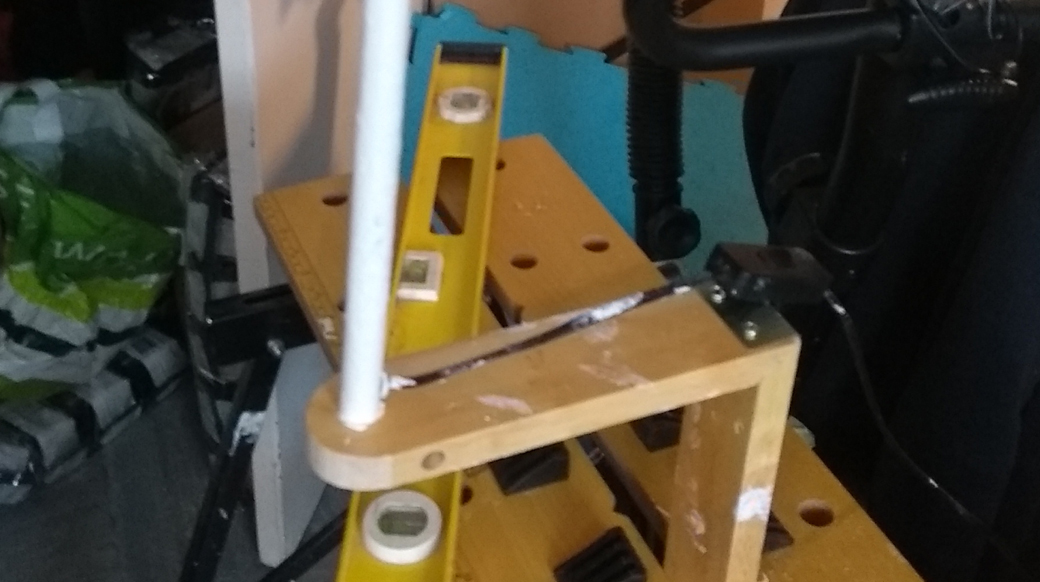
I started off by dismantling the lamp and working out the basic frame.
Once I had the basic shape of the lamp, I put it where it was going to go to get a better idea on how I wanted the finished lamp to look.
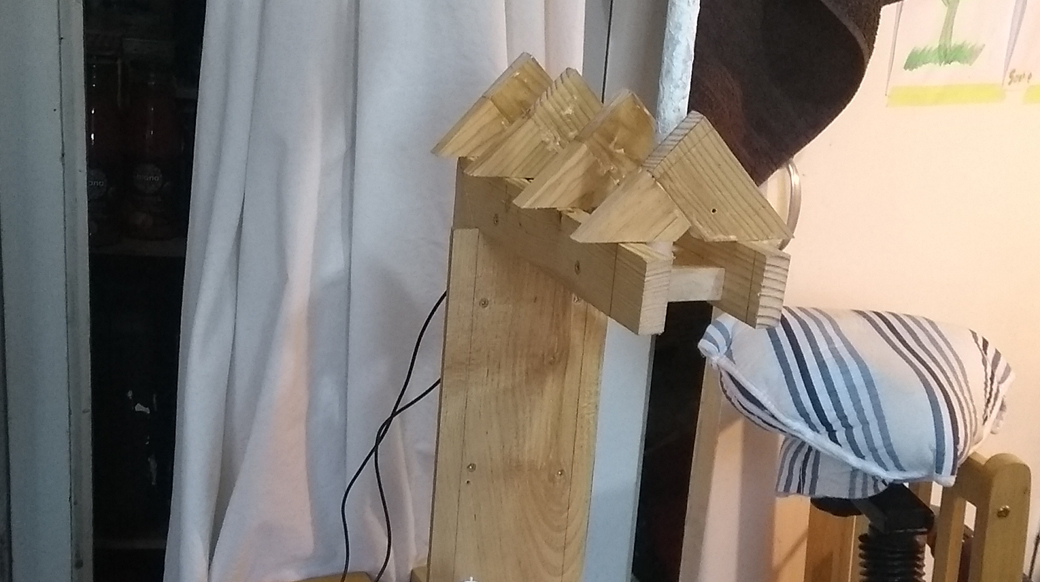
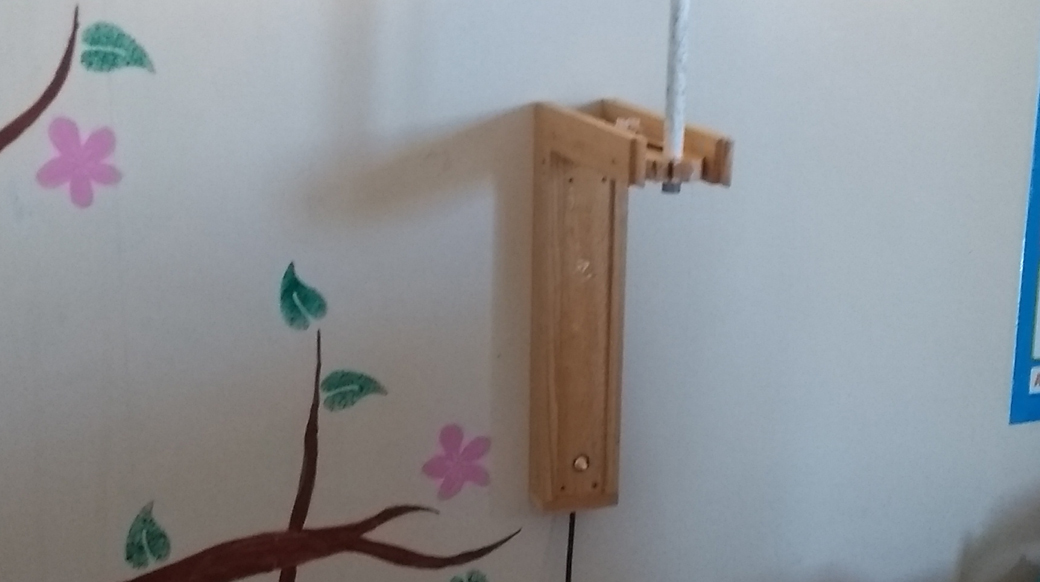
I got the front face installed and started on the roof trusses.
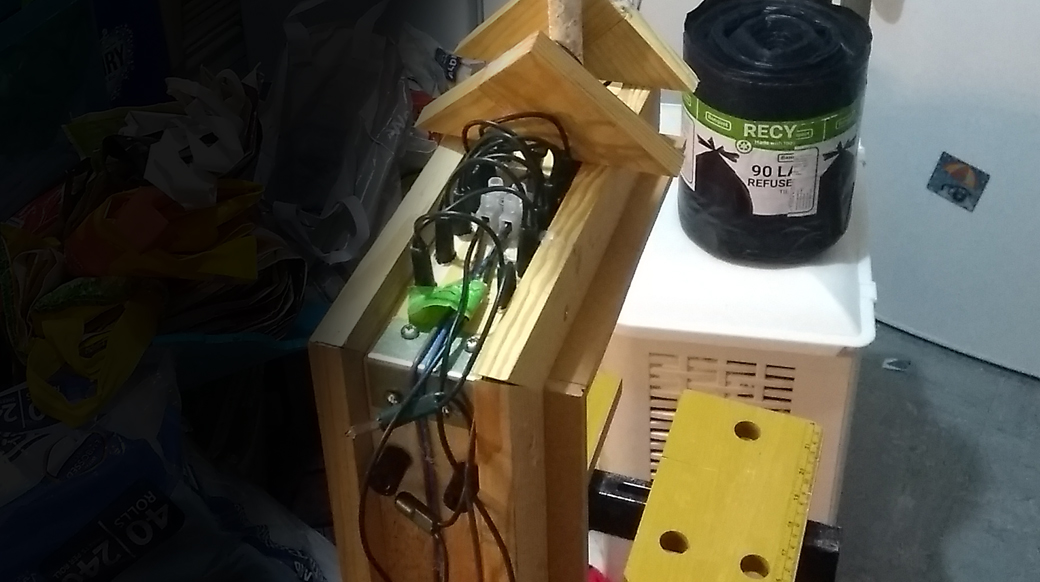
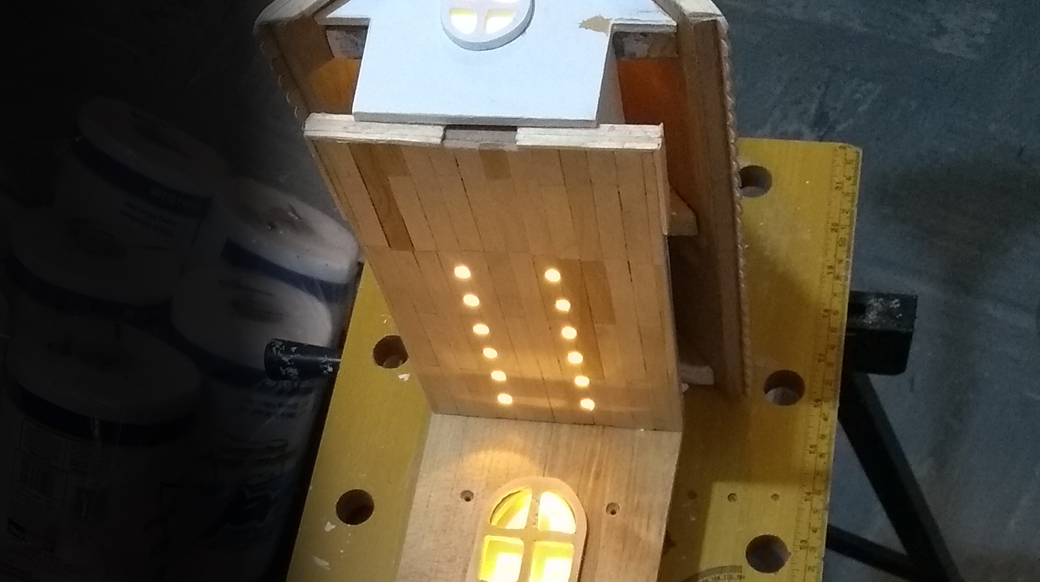
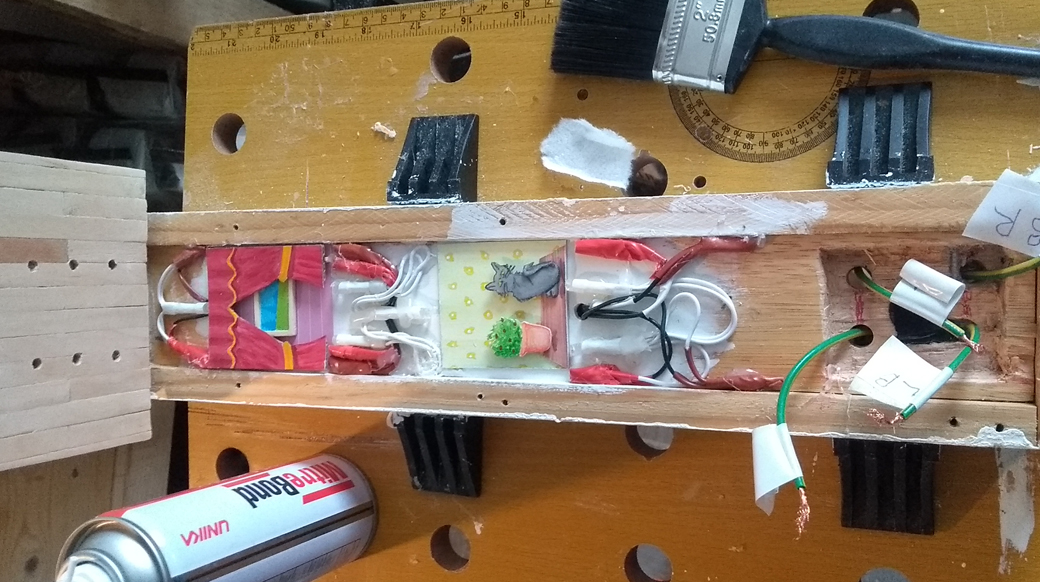
It was time to start working out the layout of the lights. At first I had all lights on one circuit but during the project I decided to go for a two way switch system.
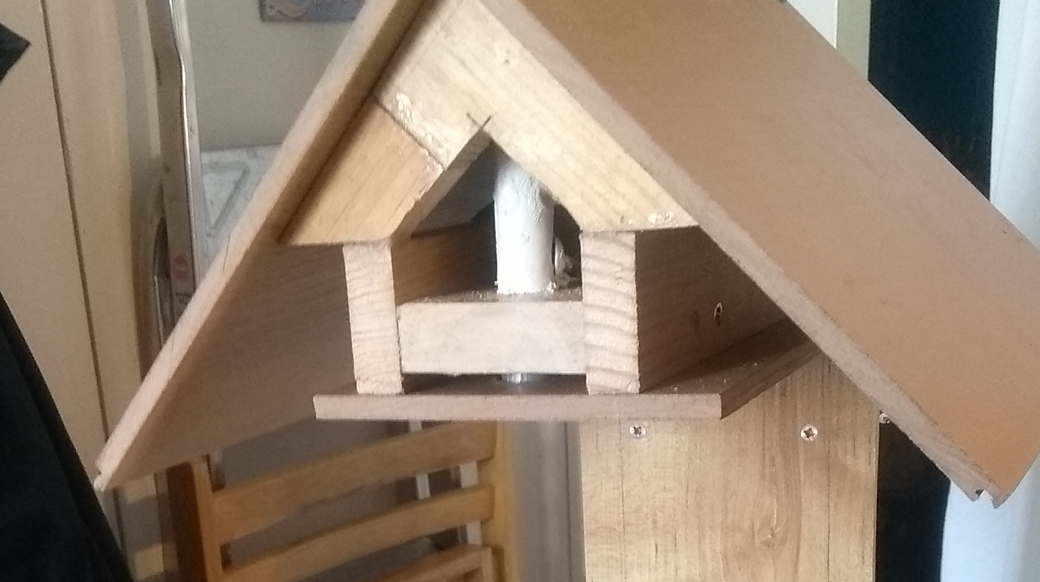
I then attached the roof with some old floor panels I had lying around.
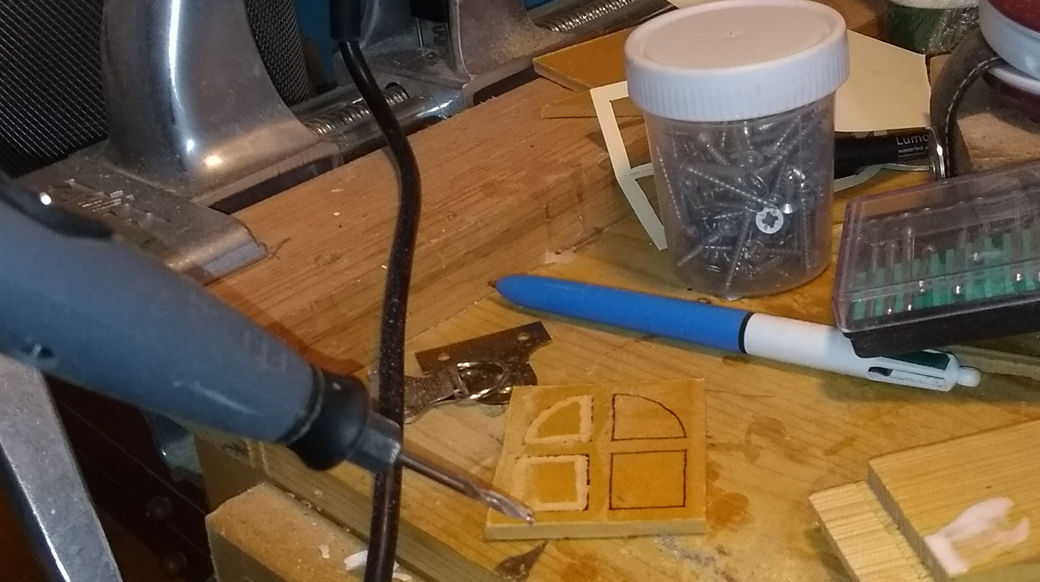
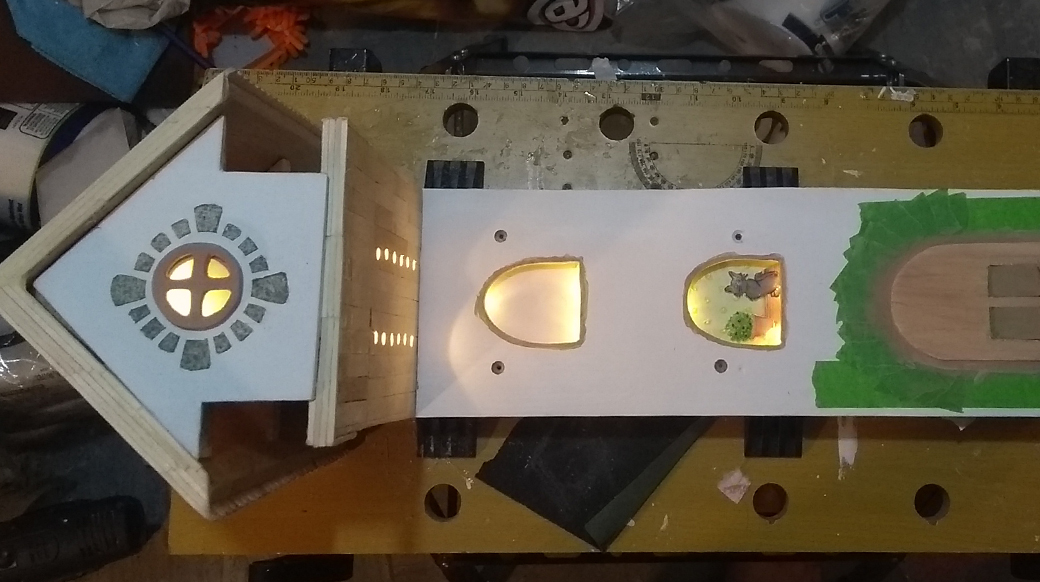
With some hard board laying around I cut out the doors and windows.
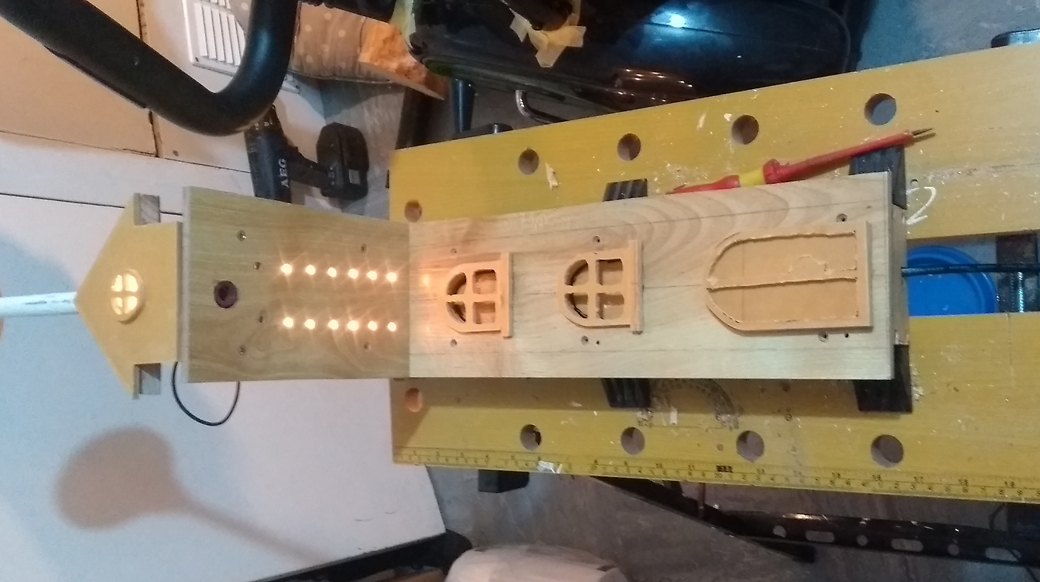
I then laid them out in place to make sure I was happy with how things were going.
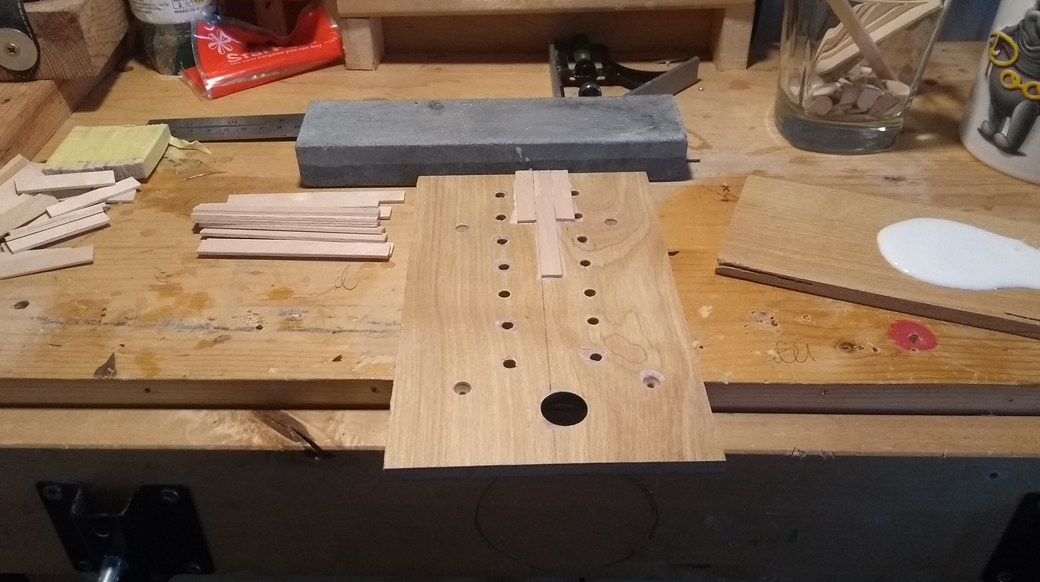
It was then time to glue the overhang spot lights with lollipop sticks.
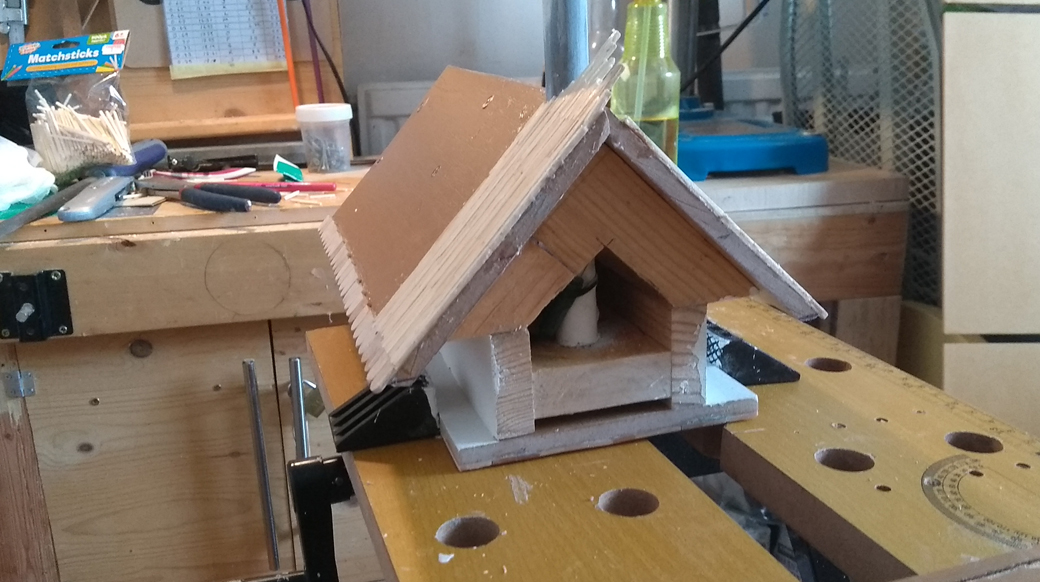
Then came the really fun part, to stick hundreds of matche sticks to form the roof.
Glad that is over with!
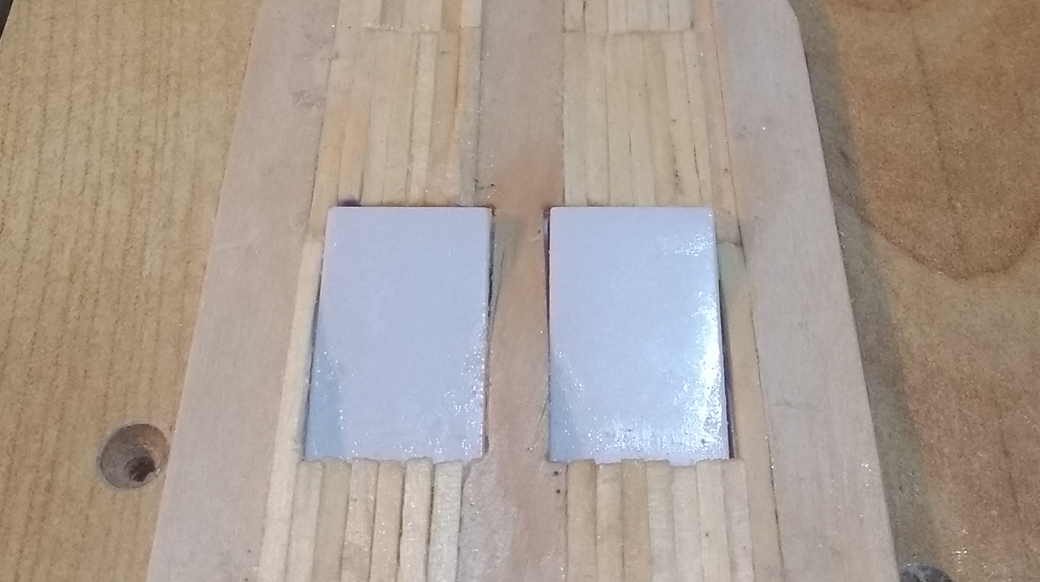
I then installed a double switch in to the lamps door.
I double checked my wiring and was grateful all was good.
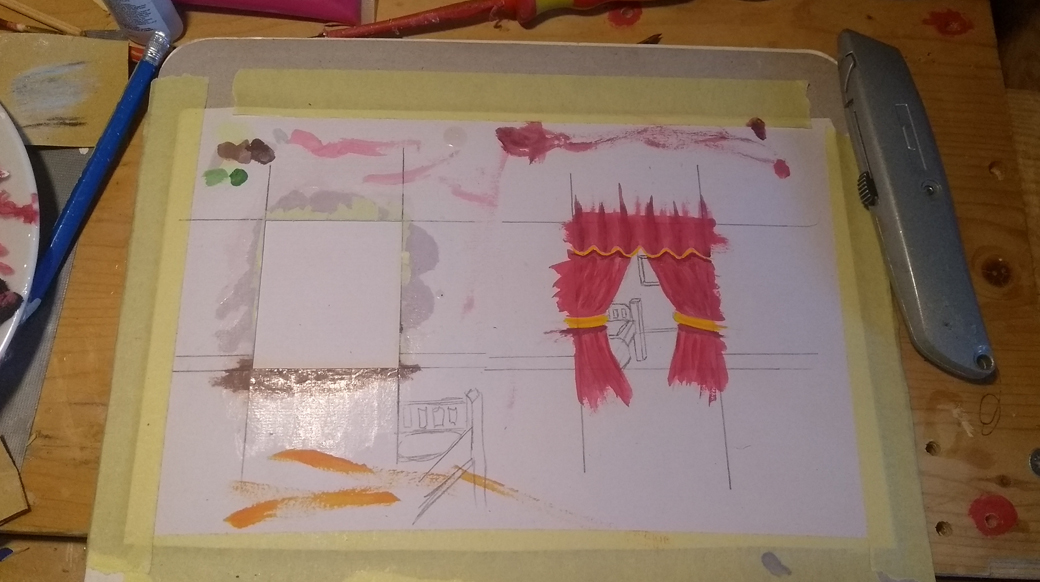
It was then time to get the paints out and design the inside of the two windows.

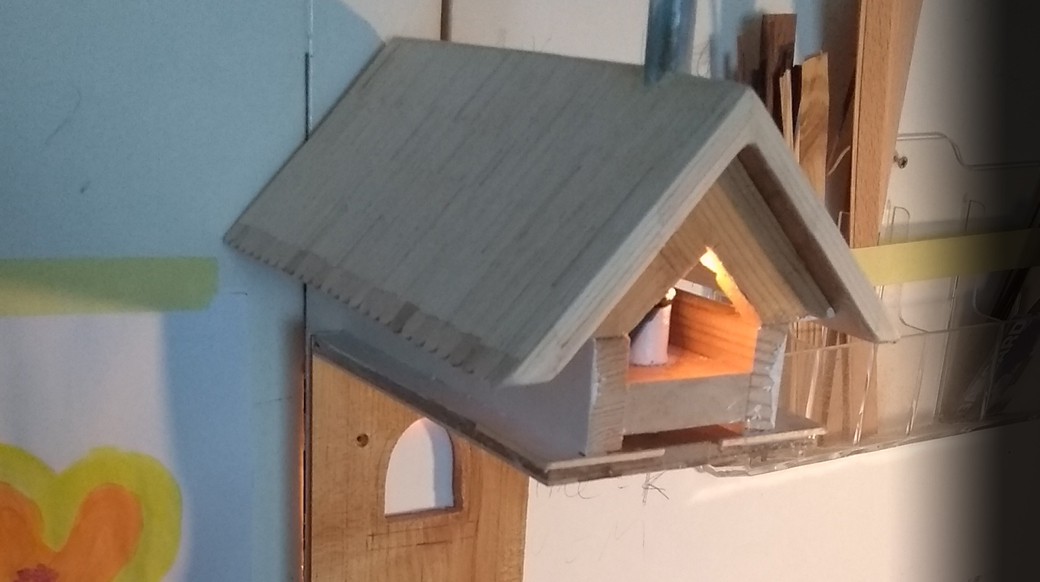
I then painted the whole lamp with a white undercoat. I also taped up the areas where I wanted a stone effect.
It came out really well, I then went to work on the door.
This is what it looks like without the front panel.
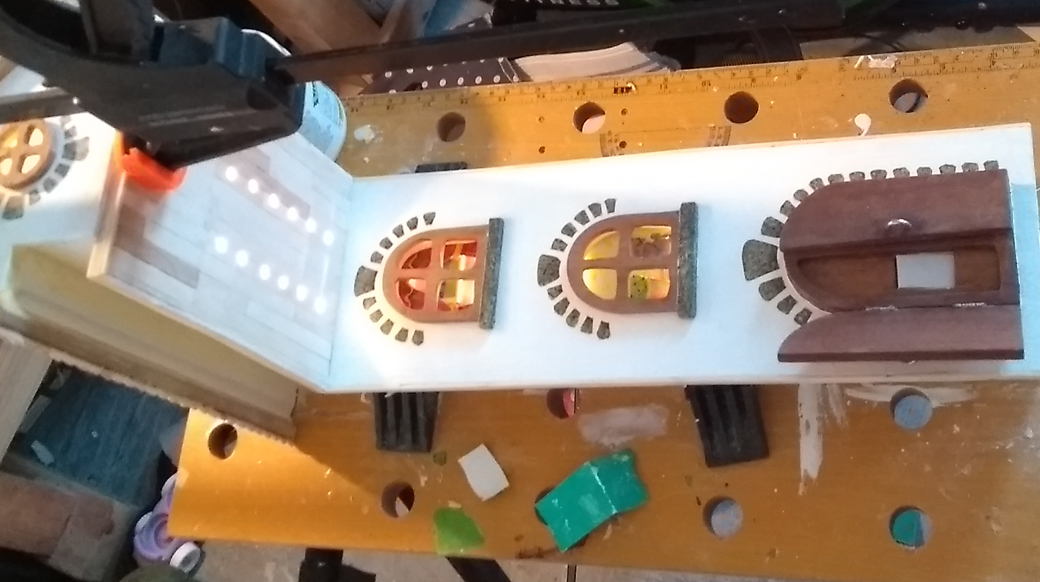
I attached the doors and it was finished.
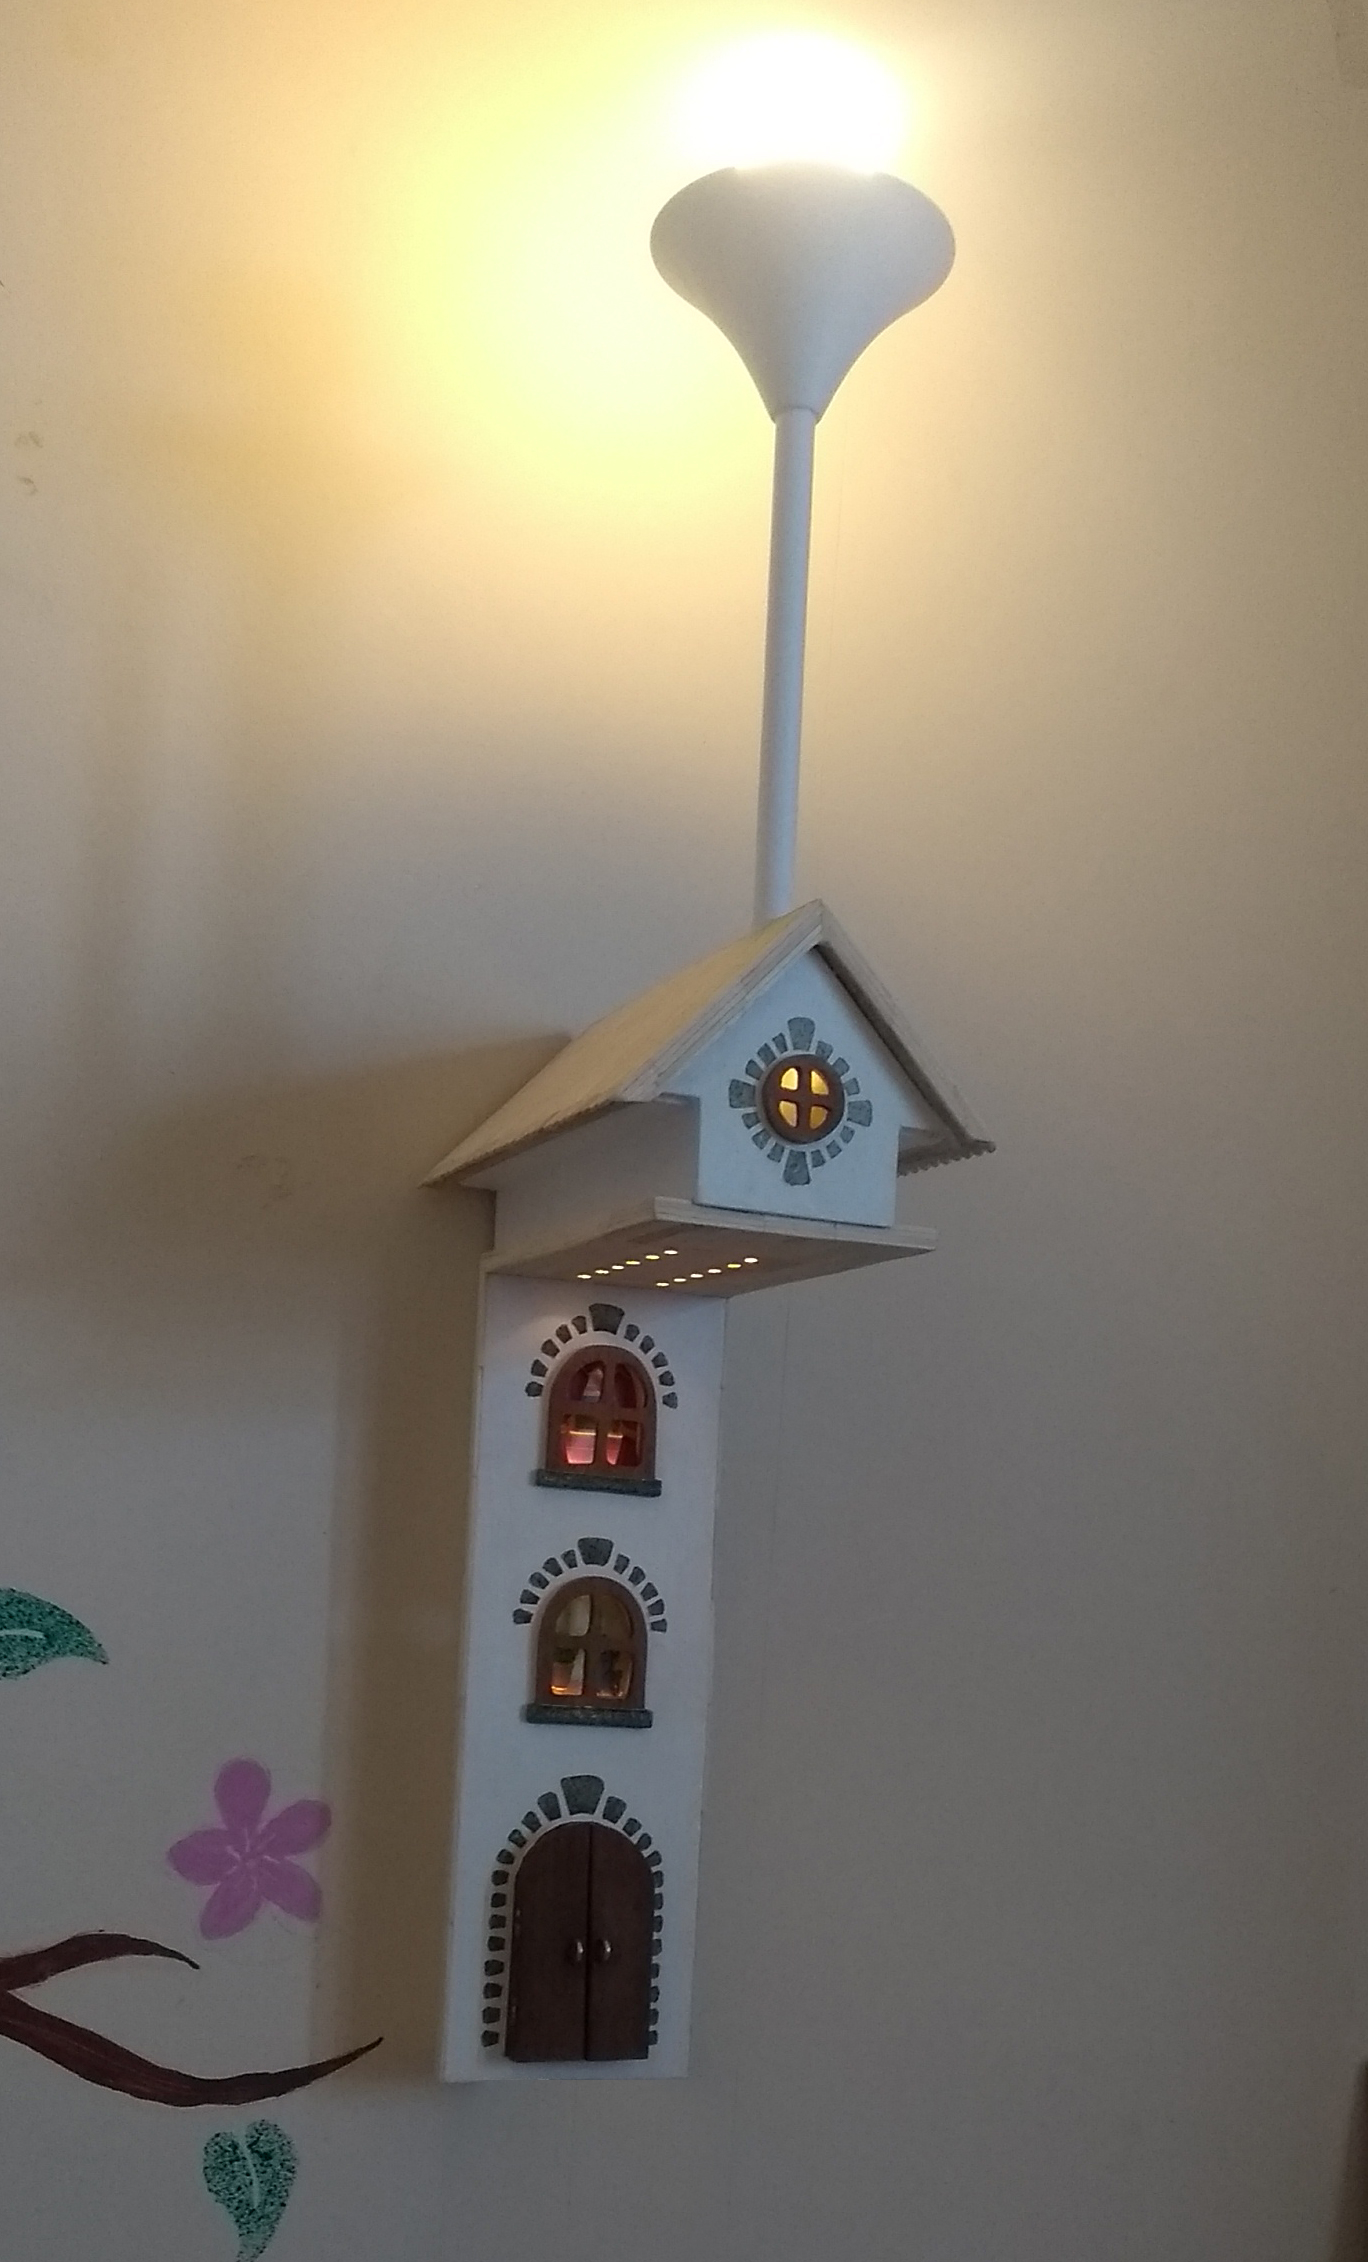
That is the house finished, now just the top lamp to work on. I am thinking of doing a hot air balloon but still unsure.
To be continued...
Need a Barnet Handyman?
All my work comes with a satisfaction guarantee,
so get in touch today by phone or email.